Hello my friends! It is hard to believe it is that time of year again! It seems I was just basking in all of summer's glory! Now it's cold and snowy and we have like 20 minutes of daylight. ;)
I am excited to share a project using a new Paper Door kit from Whimsy Stamps!
And not just a project, but a photo tutorial as well!
I created this little shaker ornament.
I have been making ornaments for my tree the past 12 years and I love seeing them year after year and filling my tree with them. It's my grown up version of a "handmade ornament" tree. (Okay, I might hang a few of the kids' ornaments too.)
This kit had so many cute pieces and cute little touches to make this ornament super sweet!
The shaker elements include snowflakes and teeny snowballs!
It doesn't get much cuter does it?
So how was my card made?
Step 1: Stamp snowglobe stamp with Versamark and emboss in silver. I used my Mini Misti so I could stamp a couple of times.
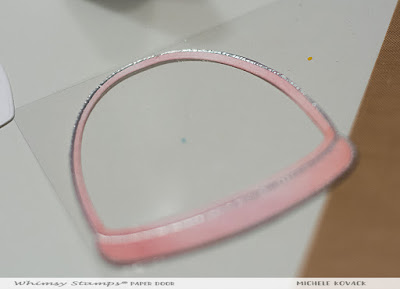
I used the die that comes in the kit to cut the center out.
I added a bit of color with Spun Sugar Distress Ink.
The kit even comes with clear acetate. I glued it to the back of the snow globe.
While that dried, I stamped my images with black Memento Ink. I ended up not using the snowman but saved it for a future project.
I used the coordinating die cuts to each image. Not sure what happened to the die on the gingerbread house. I promise I wasn't drinking while I was creating this project. ;)
I added crafty foam tape to the back of the snow globe making sure there were not gaps for those teeny snowballs to sneak out!
I used the die again to cut the glitter paper, which also comes in the kit!
The white paper from earlier was used to create a snowbank that I hand cut with scissors.
I covered my snowbank with glossy accents and glamour dust. And who honestly doesn't love glitter named, Glamour Dust?
I secured all of the pieces to the snow globe.
I sprinkled the shaker elements on top of the images and carefully placed the top piece in place. I wanted to make the ornament a bit sturdier, so I adhered it to a white piece of card stock and used my pinking shears to trim around it.
I placed the globe in my Mini Misti. (Which now I realized needs a good cleaning....badly!)
I stamped the sentiment with Versamark and sprinkled it with silver embossing powder.
I added a string, bow, and gem to the top for a few finishing touches.
I appreciate you stopping by!
Supplies:


