Click HERE to enter my giveaway! : )
What a busy whirlwind of a week it has been! Between CHA and some commitments at home, it has been a bit crazy! I am also walking this weekend to help with the American Cancer Society. A few years ago a fellow teacher died from pancreatic cancer. It greatly affected our school community and since then my co-workers and I have been participating in the walk. It feels empowering to know that we are doing something.....helping in some small way.
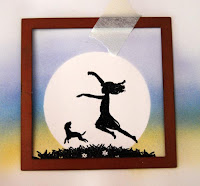
Today I have a fun card that uses bits and pieces of two brand new Crafty Secret's sets, Born to Fly and Let's Hang Out!. It was created from scraps of stuff on my desk. Sometimes papers are side by side from two prior projects and suddenly I look at them differently, and think, "Hey!" they look pretty good together! It is a bit brighter than my normal, and I took a little risk with the aqua trim.......but it's growing on me....and I think I kinda like it!

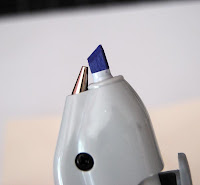
There are lots of layers on this card........I love the dimension that was created to nestle the little party hat!
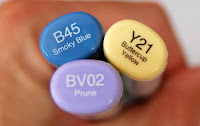
 The hat was colored with my Copic Markers and cut out. I used glossy accents to give it a bit of shine. The twine.....which is seriously my favorite right now, is by Pink Paislee.
 I hope you enjoy your weekend! Thank you for stopping by and leaving a little "love!" It always brightens my day to read your comments!


